How to Apply the Water Slide Nail Decals
March 19, 2018
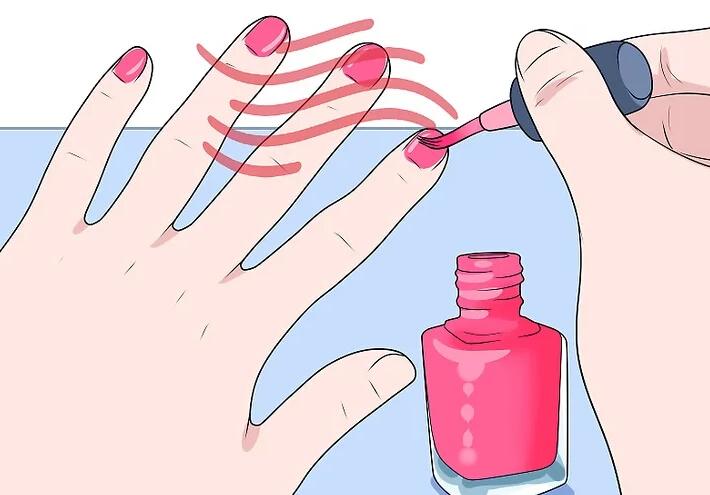
1.Apply clear base coat or nail polish to your nails and allow them to dry. Choose a color of nail polish or a clear coat and brush it onto each of your nails. Allow your nails to dry fully before moving onto the next step.
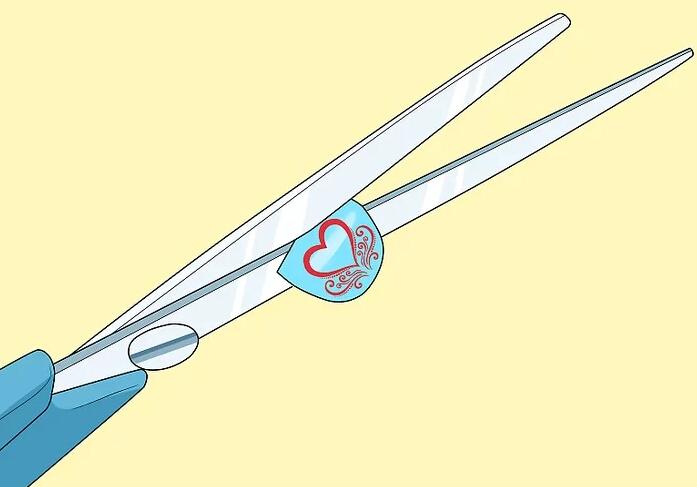
2.Cut out your water slide nail decals with scissors and choose one for your first nail.
After you’ve cut out all the water transfer decals, remove the plastic on the tops of them and find a decal that fits the nail you’d like to start with.
Most nail decal sets come with different sized decals to match each of your fingernails. Try to match the decal as closely as you can, but don’t worry if it’s not exact because you will get to trim the excess later.
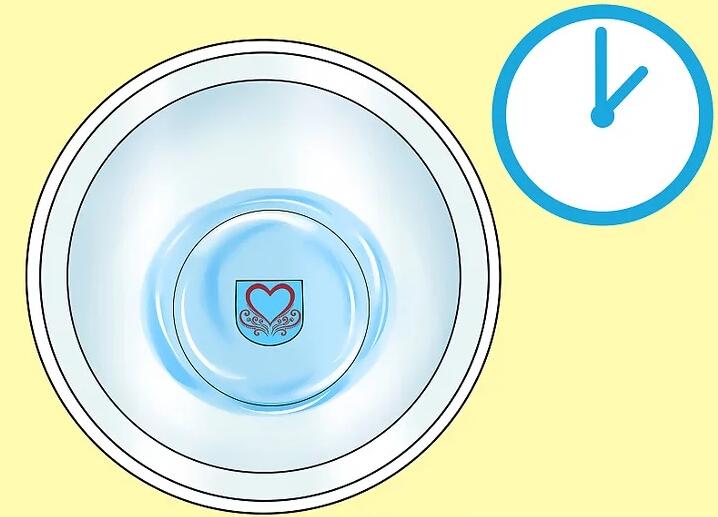
3.Plop the water transfer nail decal into a small bowl of water for a few seconds.
Within a few seconds, you will notice that the decal starts to slide off the paper backing. Once this happens, you’re ready to move onto the next step.
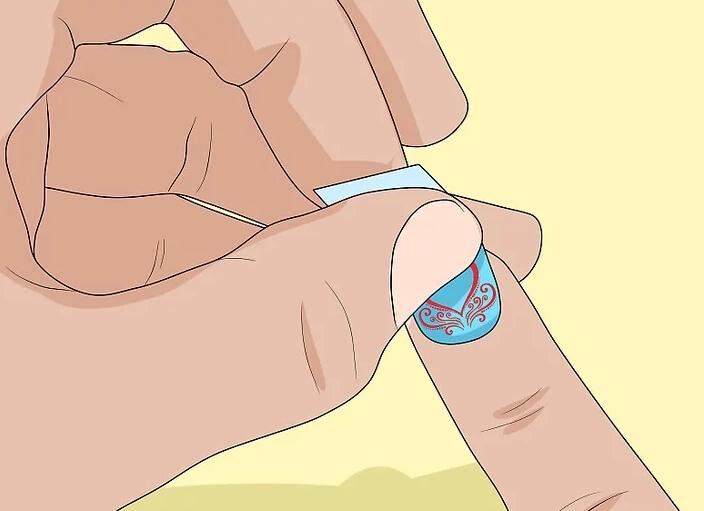
4.Slide the water transfer nail decal onto your nail and smooth it down.
Using your fingers, slide the waterslide nail decals onto your nail. Then use your cuticle pusher or orange wood stick for smoothing the decal down where you would like it to be.
Your decal will slide around a bit on your nail, so you have some time to get the right placement.
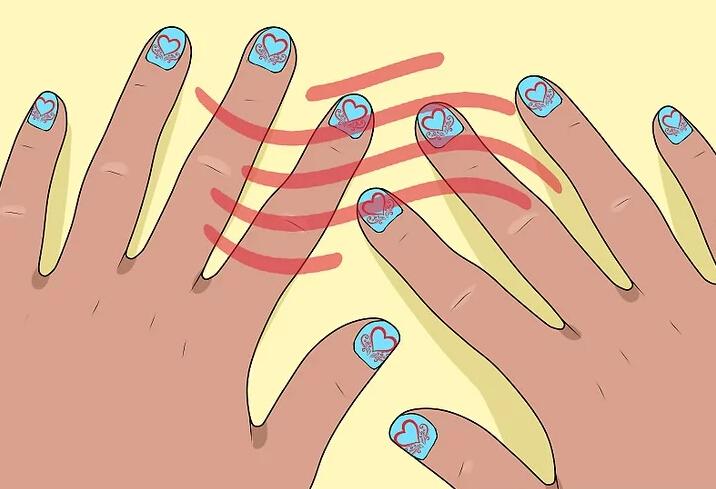
5.Apply water slide nail decals to all your nails and allow them to dry.
Repeat steps 3 and 4 for all your nails. Allow them all to dry fully. A bit of extra decal may hang down off your nails; that’s okay, you will address that in the next step.
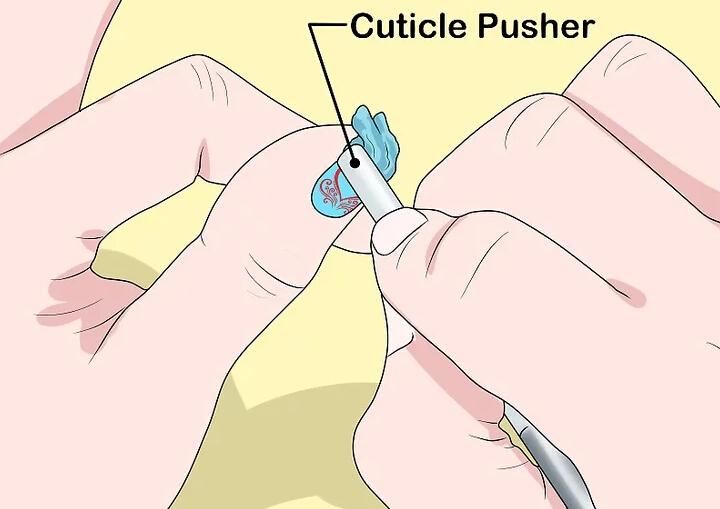
6.Remove excess water slide nail decal with your cuticle pusher or a nail file.
For any excess decal on the sides of your nails, use your cuticle pusher or orangewood stick to trim the decal and push it down into the sides of your nailbeds.
For excess decal remaining at the ends of your nails, gently file your nails in a downward motion with your nail file.
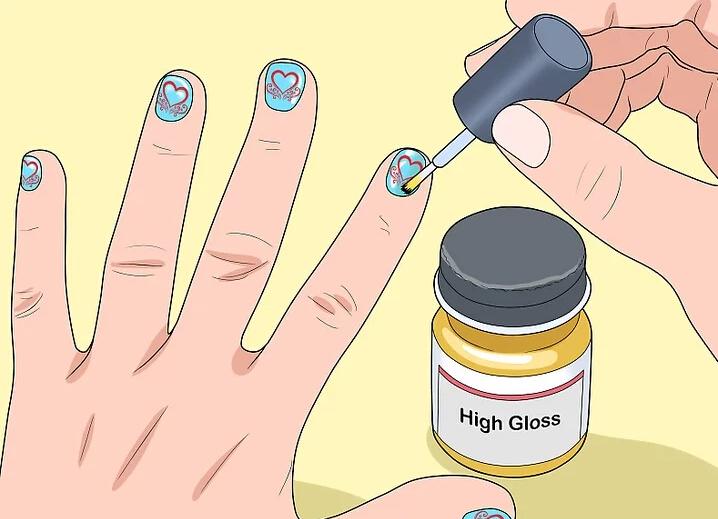
7.Apply clear top coat to all your nails.
The top coat will turn your water transfer nail decals into a type of polish that will remove any wrinkles in the decals. Wait for your nails to dry and then you’re all done!


 Jim
Jim
 Sales Manager